- Check availability at store
- Exchanges and ReturnsExchanges & Returns within a maximum period of 30 days after receiving the order.
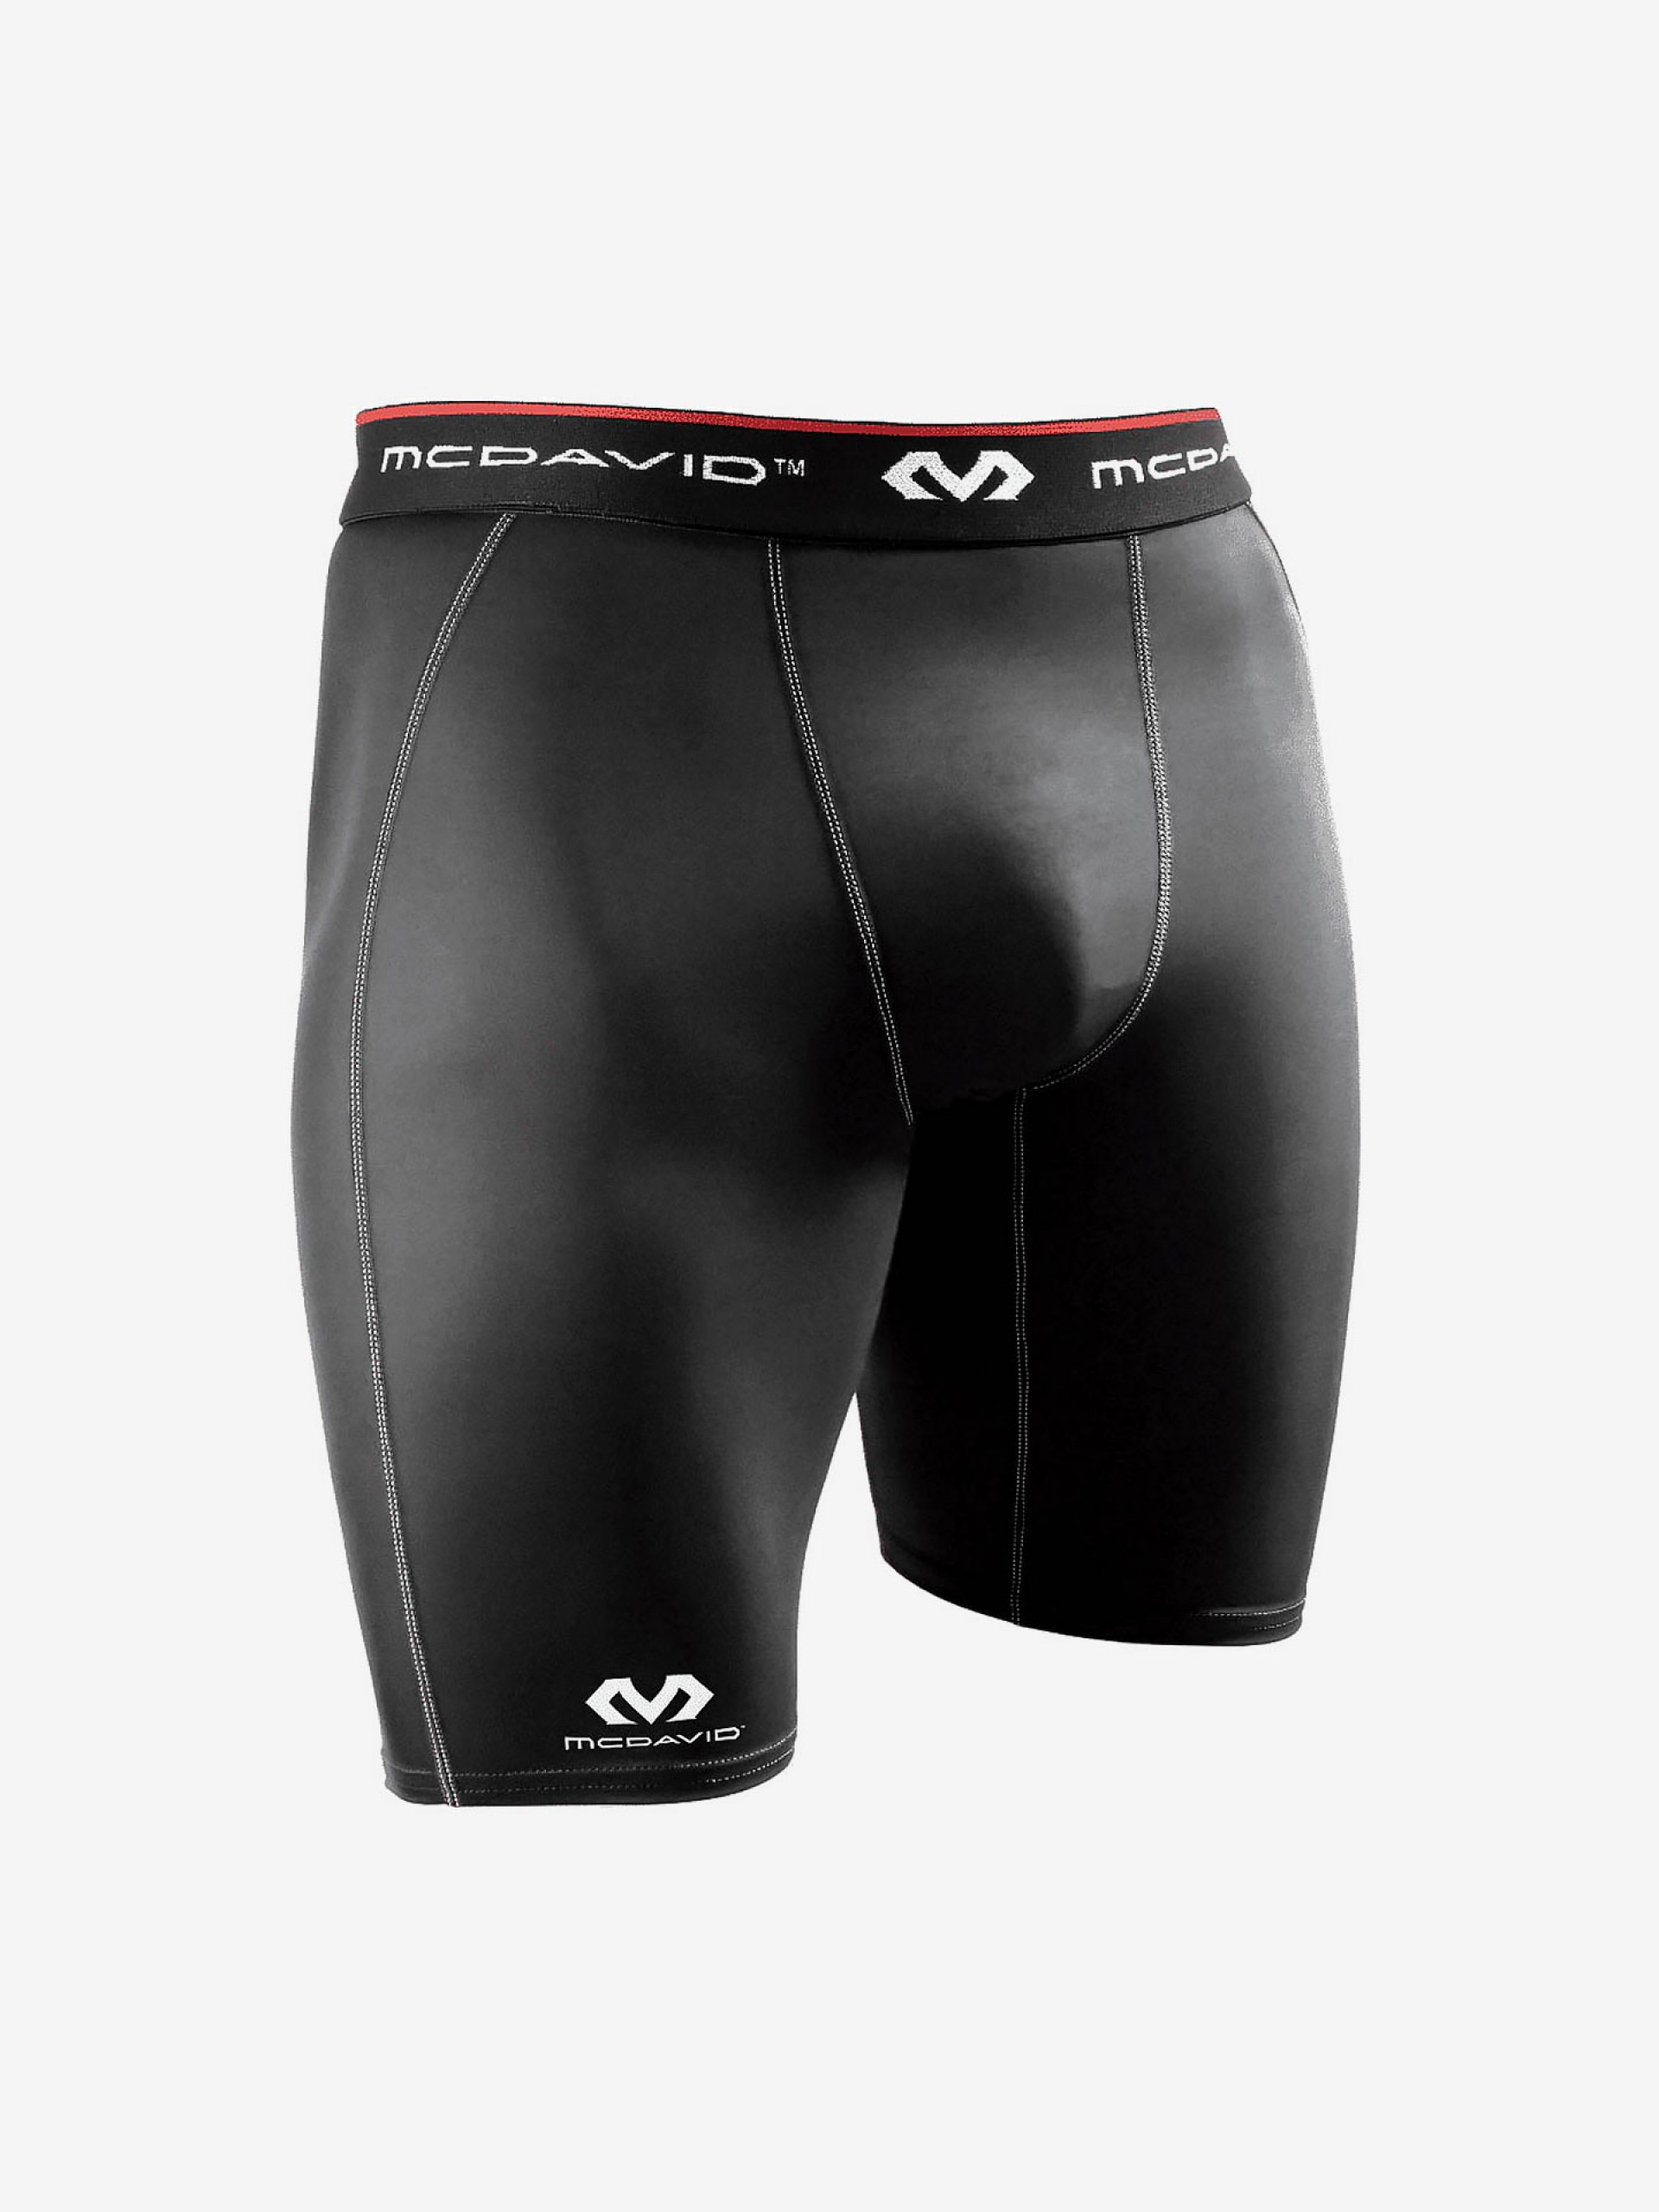
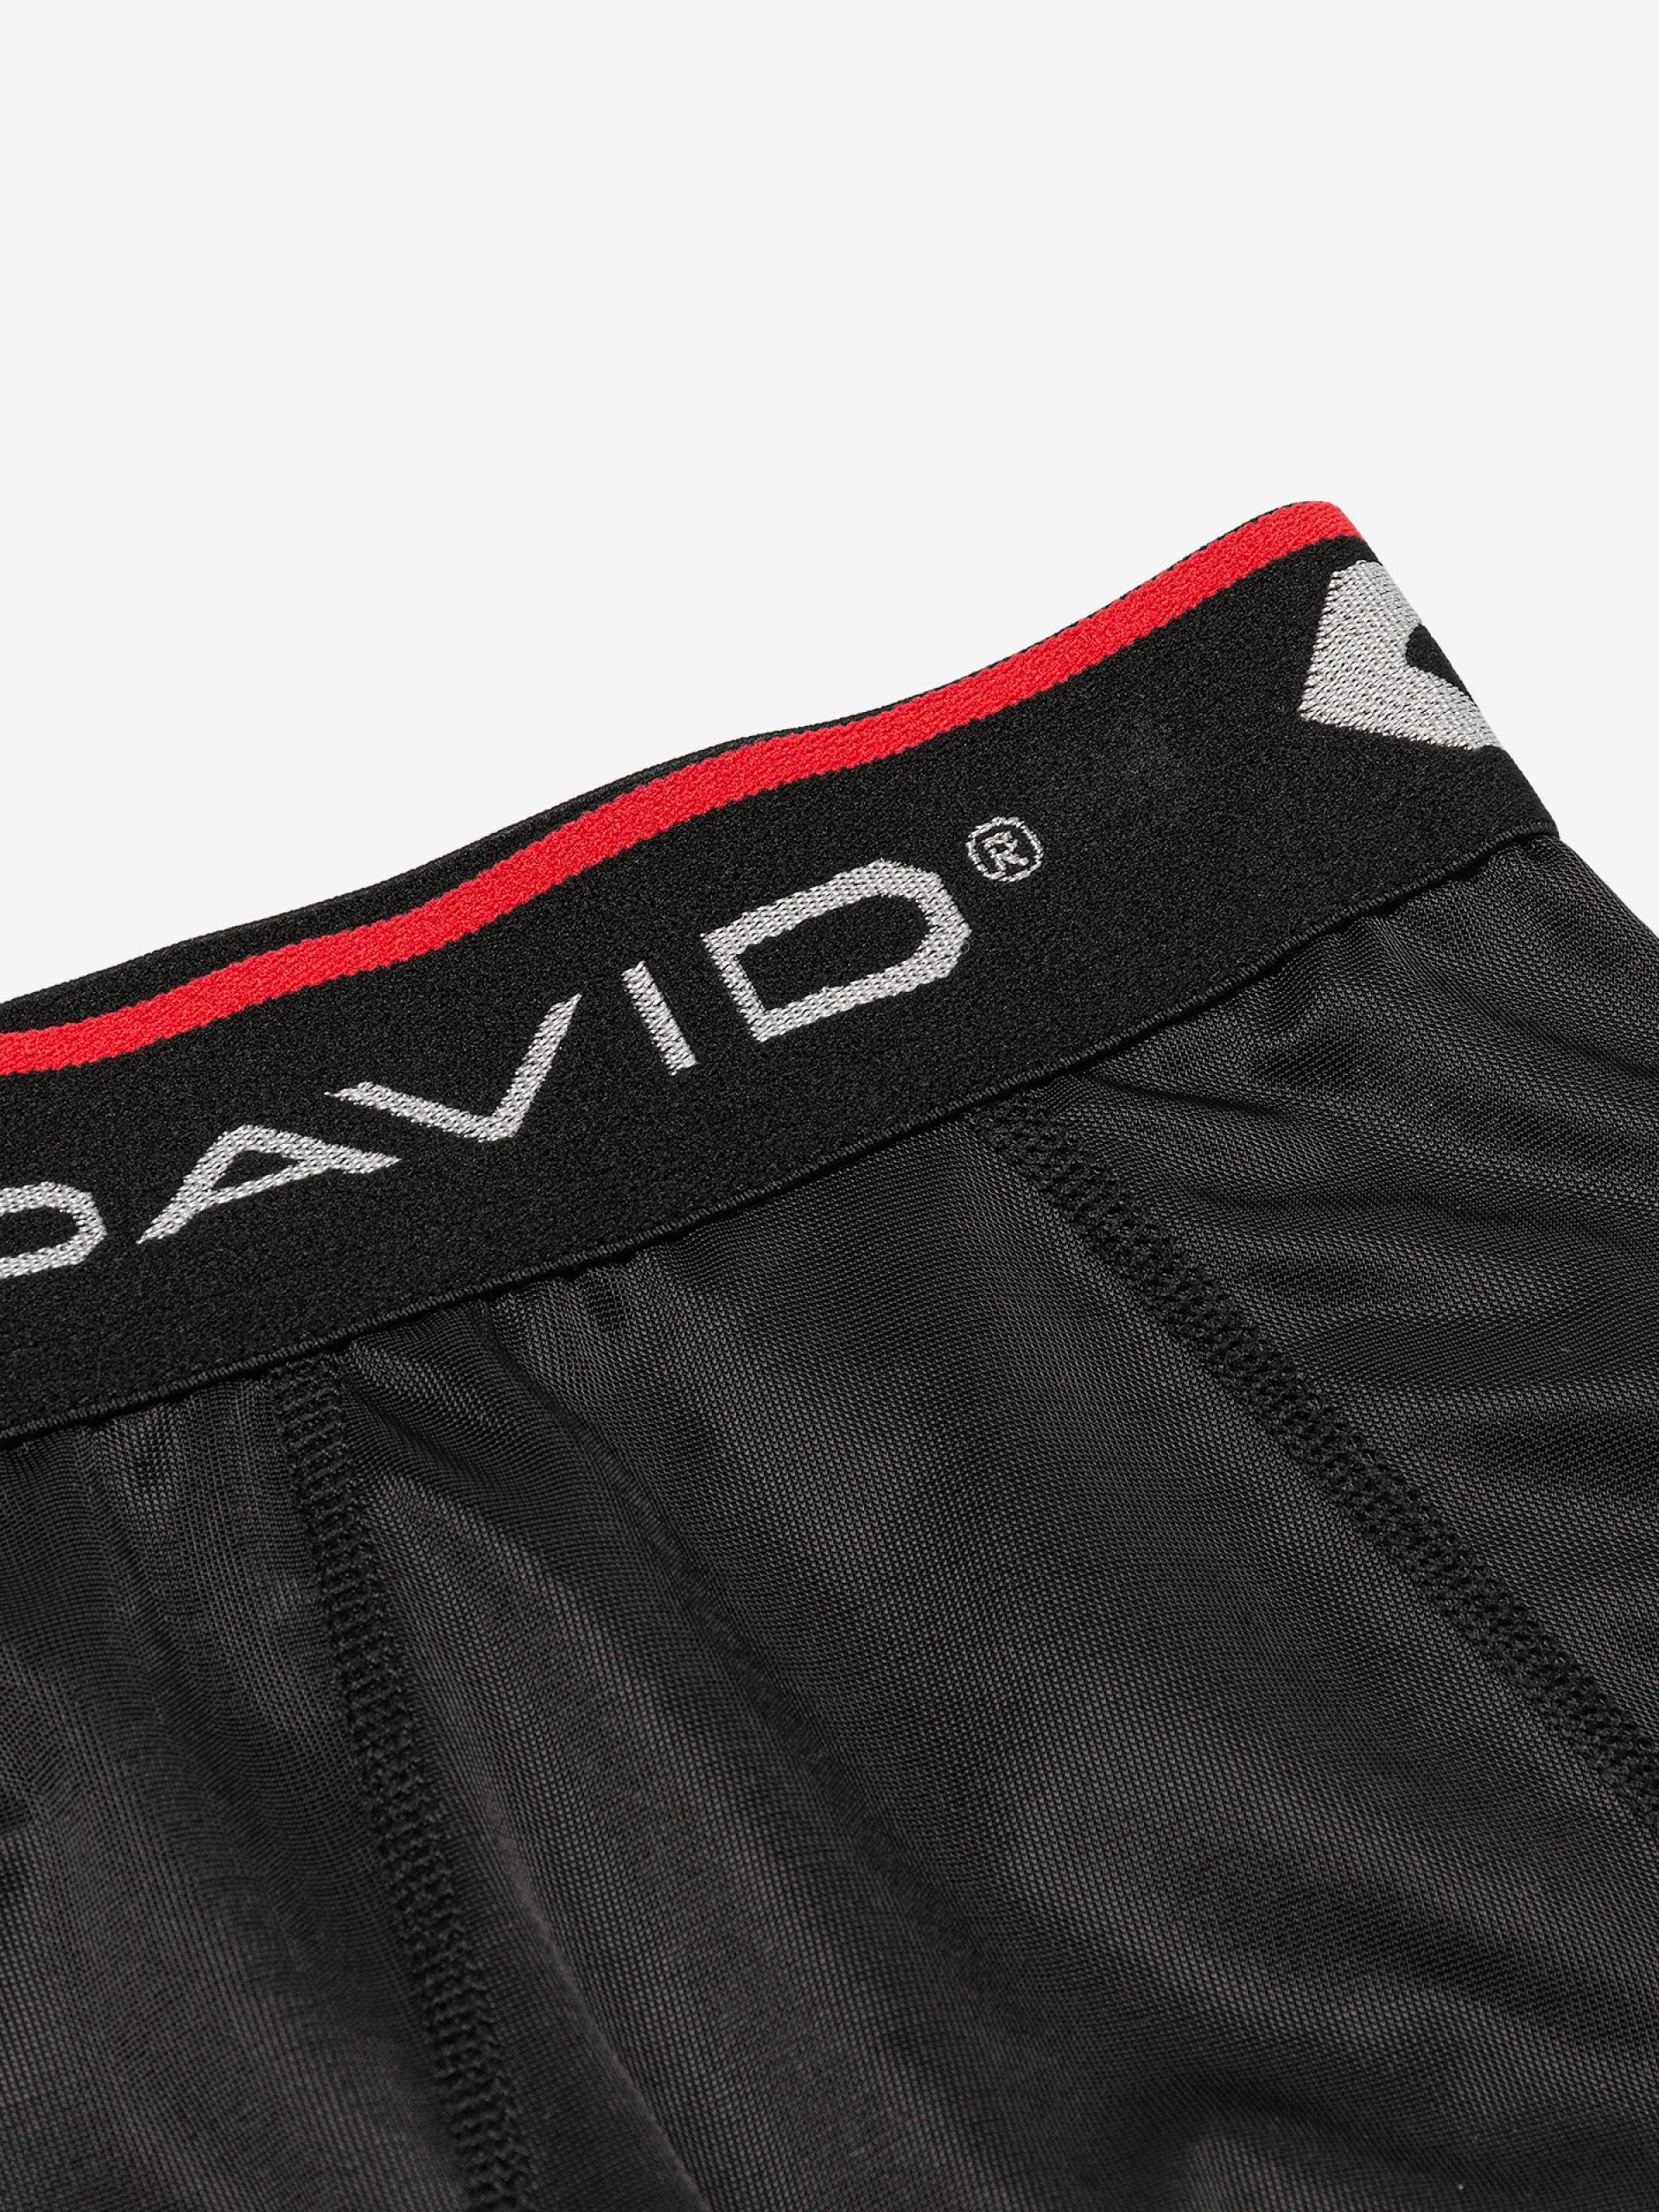
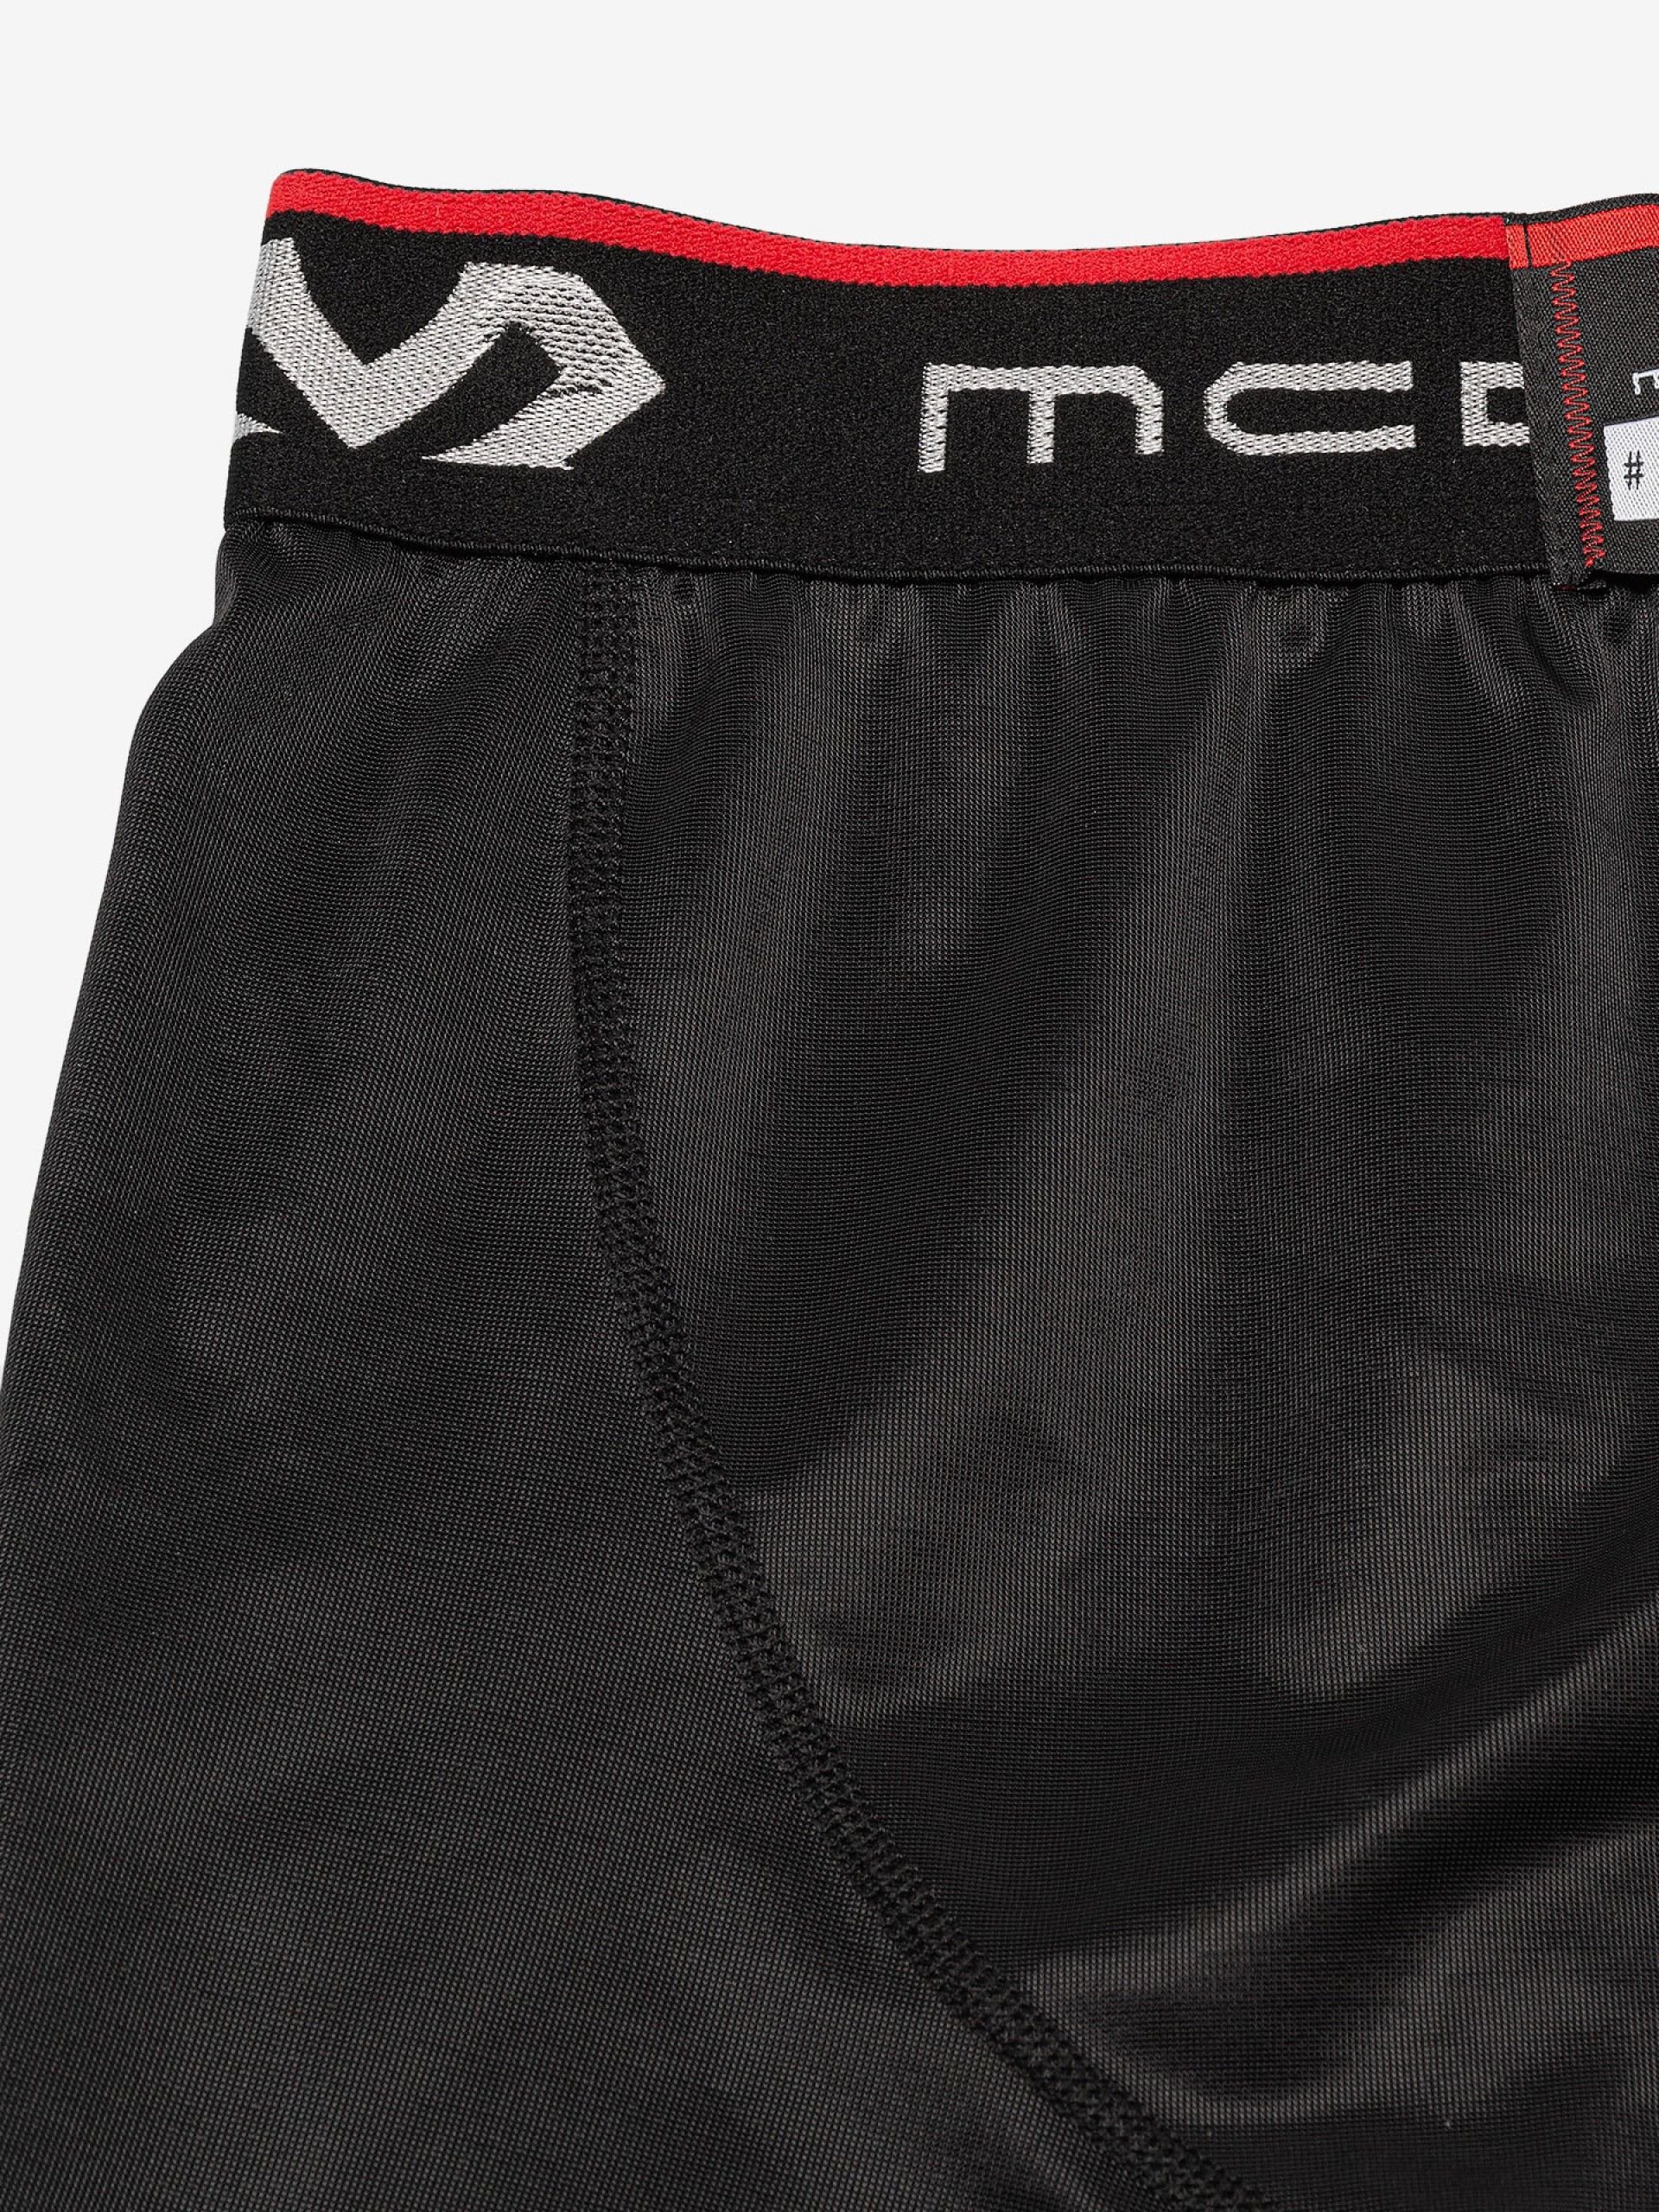
McDavid Compression shorts made of nylon and spandex.
The hDc technology fabric quickly disperses and dissipates perspiration for total freshness.
With compression technology that warms and stabilises the muscles.
Prevents chafing.
The hDc technology fabric quickly disperses and dissipates perspiration for total freshness.
With compression technology that warms and stabilises the muscles.
Prevents chafing.
| Use to how to use crep protect eraser: |
|---|
How to use Crep Protect Eraser: |


| Use to view more |
|---|
1. Check the materialThis eraser is only for suede and nubuck. It can remove stains, scuff marks, dirt and much more. |


| Use to view more |
|---|
2. Scrub the dirty areaRun the flat edge of the eraser over the part that needs cleaning. It's quick, easy and leaves your sneakers looking like new. |


| Use to view more |
|---|
2. Scrub the dirty areaRun the flat edge of the eraser over the part that needs cleaning. It's quick, easy and leaves your sneakers looking like new. |


| Use to view more |
|---|
3. Clean up the debrisUse the Crep Protect brush to remove small pieces of rubber. It works on all materials: leather, suede, nubuck, canvas, nylon, or vinyl. |


| Use to view more |
|---|
4. Store it properlyWhen not in use, put the eraser in the tin. It's small and practical, ideal for taking with you everywhere. |


| Use to view more |
|---|
4. Store it properlyWhen not in use, put the eraser in the tin. It's small and practical, ideal for taking with you everywhere. |
| Use to how to use crep protect reviver spray: |
|---|
How to use Crep Protect Reviver Spray: |


| Use to view more |
|---|
STEP 1Before use, clean the sneakers with Crep eraser. |


| Use to view more |
|---|
STEP 2Shake the bottle well and apply a generous amount to the area to be treated. |


| Use to view more |
|---|
STEP 2Shake the bottle well and apply a generous amount to the area to be treated. |


| Use to view more |
|---|
STEP 3Leave the product to work for 1 minute. |


| Use to view more |
|---|
STEP 4Brush the suede thoroughly to restore its original texture. |


| Use to view more |
|---|
STEP 4Brush the suede thoroughly to restore its original texture. |
| Use to how to use crep protect anti-odour pills: |
|---|
How to use Crep Protect Anti-Odour Pills: |


| Use to view more |
|---|
STEP 1Turn the capsule to activate it. |


| Use to view more |
|---|
STEP 2Place one capsule inside each shoe. |


| Use to view more |
|---|
STEP 2Place one capsule inside each shoe. |


| Use to view more |
|---|
STEP 3Leave the capsule to work inside the sneakers for the required amount of time. |


| Use to view more |
|---|
STEP 4When you are finished, turn the capsule back to close it, maintaining freshness and ensuring it is ready for the next use. |


| Use to view more |
|---|
STEP 4When you are finished, turn the capsule back to close it, maintaining freshness and ensuring it is ready for the next use. |
| Use to how to use crep protect foam x sneaker cleaner foam: |
|---|
How to use Crep Protect Foam X Sneaker Cleaner Foam: |


| Use to view more |
|---|
1. REMOVE LOOSE DIRTBefore you begin, brush your sneakers thoroughly to remove dust and surface dirt. |


| Use to view more |
|---|
2. APPLY THE FOAMApply FoamX and wait about 5 minutes until the purple foam turns white. |


| Use to view more |
|---|
2. APPLY THE FOAMApply FoamX and wait about 5 minutes until the purple foam turns white. |


| Use to view more |
|---|
3. LEAVE TO ACTThe colour change means that the product is effectively removing dirt. |


| Use to view more |
|---|
4. CLEAN AND LET DRYRemove foam with a damp microfibre cloth and let the sneakers air dry. |


| Use to view more |
|---|
4. CLEAN AND LET DRYRemove foam with a damp microfibre cloth and let the sneakers air dry. |
| Use to how to use crep protect guards 2.0 anti-wrinkle and creases shapers: |
|---|
How to use Crep Protect Guards 2.0 Anti-Wrinkle and Creases Shapers: |


| Use to view more |
|---|
STEP 1Check which is the left protector and which is the right before placing them in the sneakers. |


| Use to view more |
|---|
STEP 2Place the protector inside the shoe and slide it to the front. |


| Use to view more |
|---|
STEP 2Place the protector inside the shoe and slide it to the front. |


| Use to view more |
|---|
STEP 3If necessary, cut the protection to the right size, following the cutting lines. |


| Use to view more |
|---|
STEP 4Ensure that the protection is securely fitted and comfortable before wearing the sneakers. |


| Use to view more |
|---|
STEP 4Ensure that the protection is securely fitted and comfortable before wearing the sneakers. |
Product(s) added to cart
Most Viewed


